I have been rubbish at blogging this week. As in - I haven't posted at all! I also wore bare nails to work for FOUR days in a row. I know, I know... I'm ashamed.
 Anyway, this is only week 2 of the British Nail Bloggers' Colour Me Crazy challenge, so I can't give up already! I did these nails a few days ago (they were my one day where I didn't wear bare nails to work) and didn't like them much, so didn't write a post. But then I thought I might as well post them...
The orange is OPI's Juice Bar Hopping, from the new(ish) full size neon range. I didn't use a white base for this, because I like it as it is. This is two coats. Juice Bar Hopping is a fabulous bright, juicy orange, with a slightly sheer finish. It dries to a satiny sheen, so I added topcoat for these photos, which really brings out the oh-so-juicy colour!
I used W7 Black on my accent nail, and added a bunch of rhinestones that were a Christmas present. I love the rhinestone effect, but this is where I became unhappy with the design - I really like Juice Bar Hopping, and I like the accent nail, but I don't like them together. The rhinestones are a lovely colour, but next to Juice Bar Hopping, they look really washed out and pale. I should have paired them with an all-black look, or with something else that was a proper contrast. Oh well!
Anyway, this is only week 2 of the British Nail Bloggers' Colour Me Crazy challenge, so I can't give up already! I did these nails a few days ago (they were my one day where I didn't wear bare nails to work) and didn't like them much, so didn't write a post. But then I thought I might as well post them...
The orange is OPI's Juice Bar Hopping, from the new(ish) full size neon range. I didn't use a white base for this, because I like it as it is. This is two coats. Juice Bar Hopping is a fabulous bright, juicy orange, with a slightly sheer finish. It dries to a satiny sheen, so I added topcoat for these photos, which really brings out the oh-so-juicy colour!
I used W7 Black on my accent nail, and added a bunch of rhinestones that were a Christmas present. I love the rhinestone effect, but this is where I became unhappy with the design - I really like Juice Bar Hopping, and I like the accent nail, but I don't like them together. The rhinestones are a lovely colour, but next to Juice Bar Hopping, they look really washed out and pale. I should have paired them with an all-black look, or with something else that was a proper contrast. Oh well!
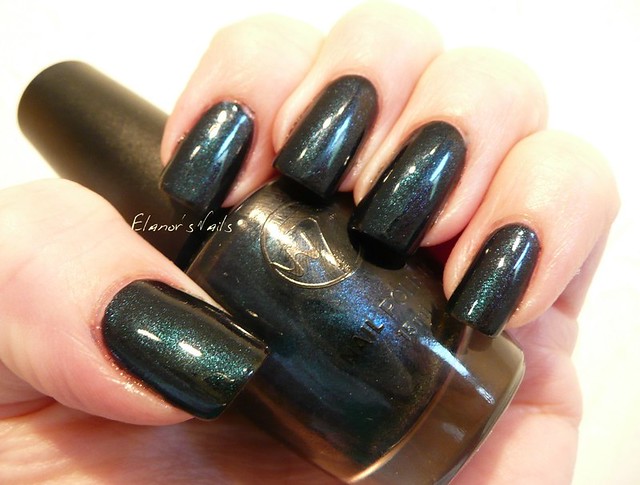
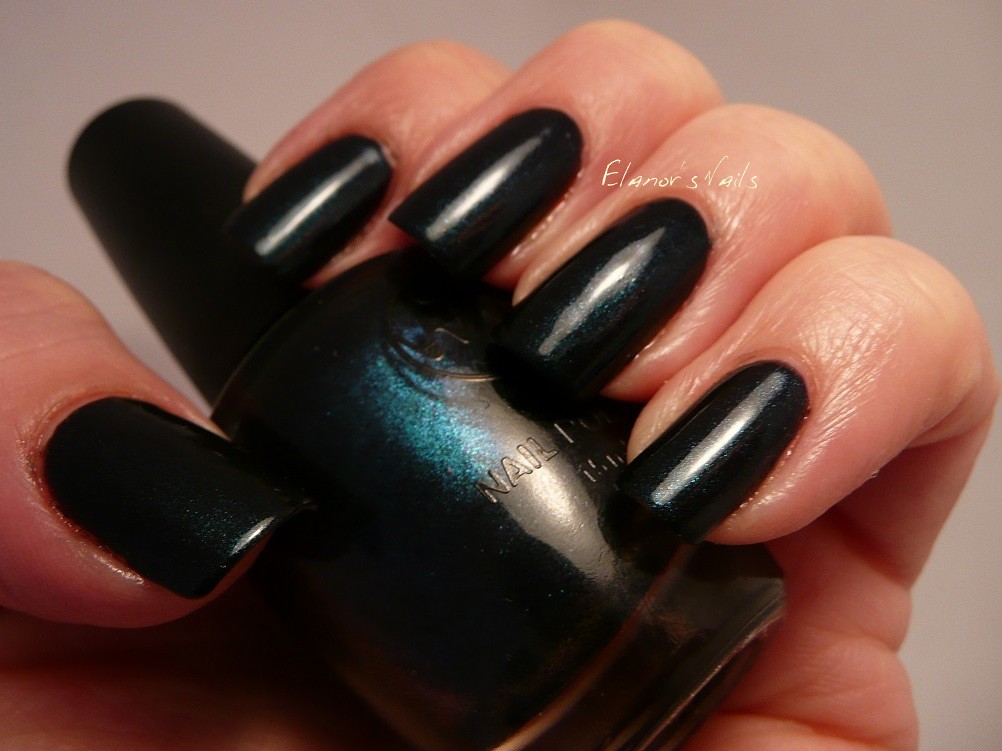
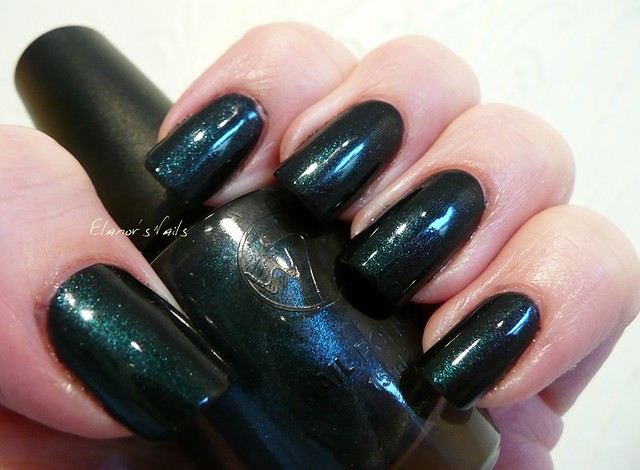
This is the last polish from my giant w7 haul from a couple of weekends ago. Unfortunately, it's another one where the label came off when I cleaned up the giant spill, so I don't know what this one's called! However, it is a really pretty bluey green shimmery glass fleck polish.
This is three thin coats on each nail, except on my ring finger, which is one coat over black. The formula on this is quite sheer and runny, so I wanted to see if putting it over black was easier, or if it looked as good.
I think it works fine over black! The shimmer isn't less pronounced than on the other nails, and it was easier to apply - although there was no problem on the other nails, it just meant using fewer coats.
Whilst it isn't very springlike, I like how this polish looks. I wish the greeny blue shimmer was a bit more obvious in all lights, but I think this will look great in the winter!
This polish was provided for review. Opinions and words are entirely my own.
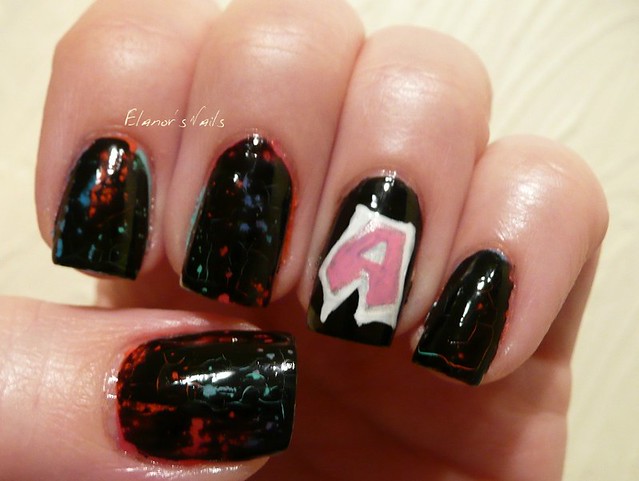
This week's Friday challenge is... GRAFFITI.
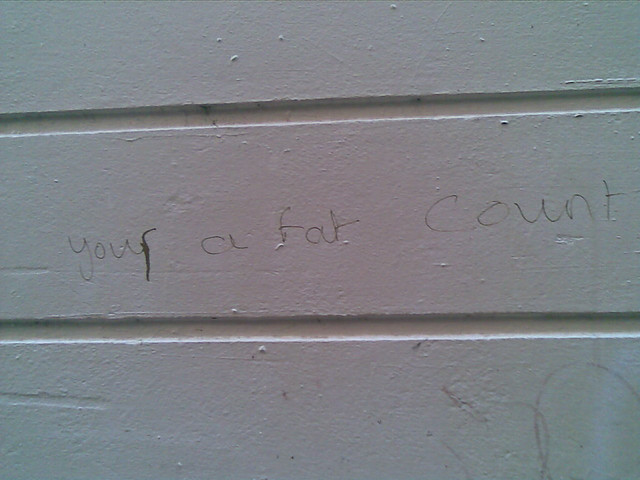
My favourite ever piece of graffiti is this - I snapped this photo in my town centre about 5 years ago. It's still there, and every so often I see it, and smile.
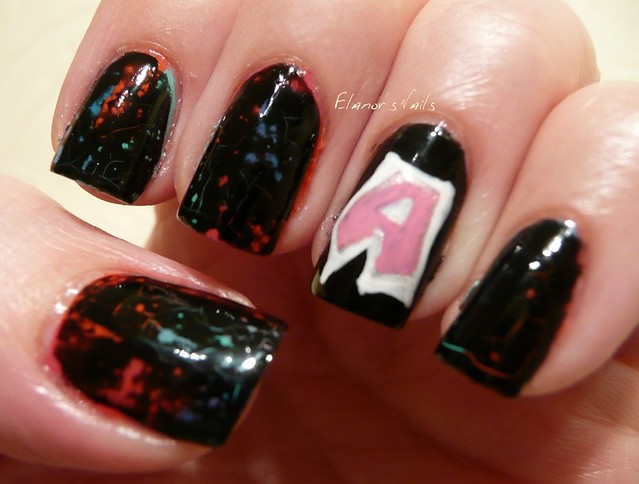
However, I decided not to recreate this on my nails. Instead I did this.
This was done by splodging on a mess of a combination of Barry M Greenberry, Satsuma and Cyan Blue, and Models Own Bubblegum. Then I added a coat of Layla Bubbly Effect in Black Forest. On the ring fingers I did my initial (yes - Elanor isn't actually my real name!) in what is meant to be a graffiti-esque style, using Barry M Nail Art Pens in white, pink and silver, over a base of W7 Black. Doing my right hand was hard!
I was a bit disappointed with how black these are - I had hoped more colour would show through. I'd forgotten that the Layla Bubbly Effect needs a very VERY thin coat! My right hand looked lots better, because I did that second. I can't photograph that though! However, I'm still pretty pleased with these, as I do think they look quite graffiti-ish.
(You'll notice that my nails are all short and horrid - I ripped a nail off in a door at work, and had to cut them all short to match. Booooo!)
This is the next part of the reviews of the massive w7 delivery I had last weekend. You can read the previous entries here and here.
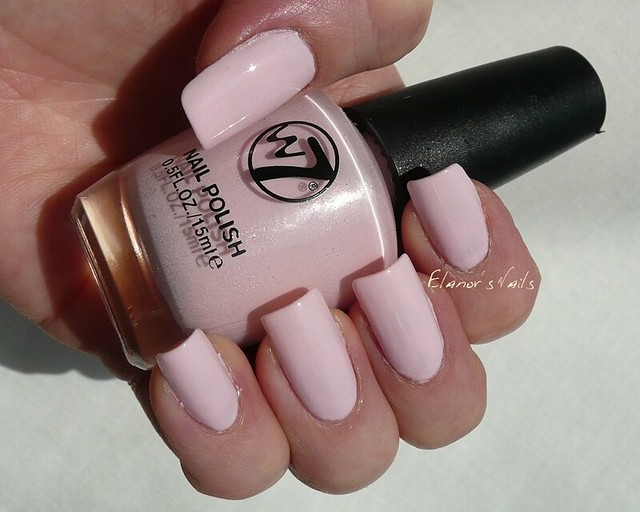
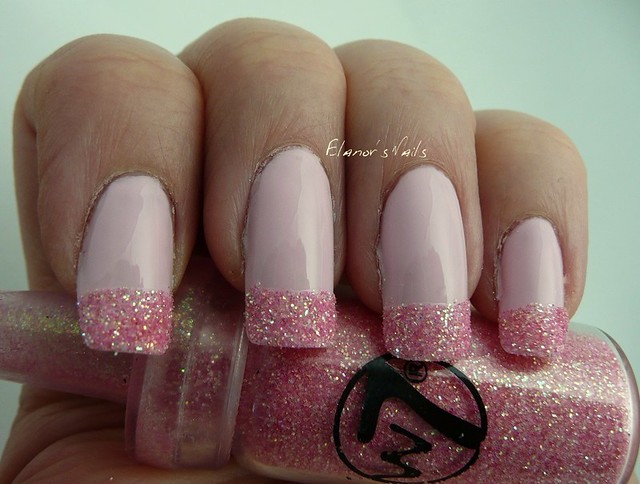
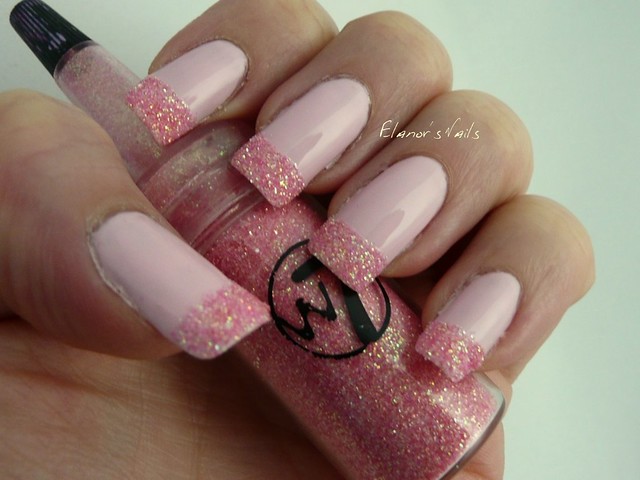
First up is the pretty pale pink one, Powder Pink. This is three thin coats, no topcoat.
The application on this one was a bit tricky. Like many very pale pastels, it's quite thin and streaky, and needs three coats for even coverage.
This is a pretty colour, but it's not really the sort of colour I wear much, as I tend to prefer stronger, brighter shades. However, it does dry nicely, and is lovely and glossy. I feel that this would last well too, as the finish feels rock hard, unlike some polishes where you've had to use multiple layers.
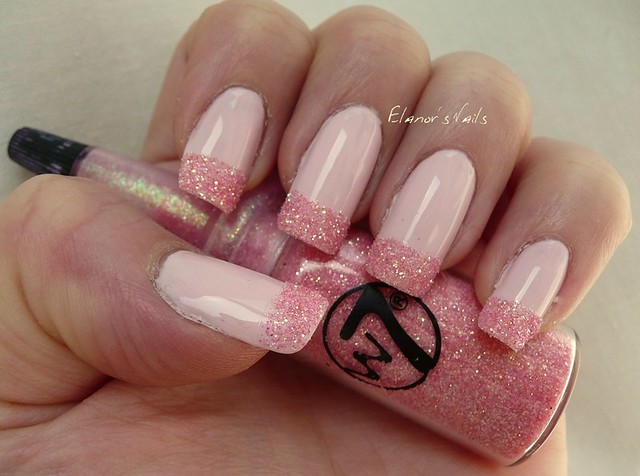
I then jazzed this up using the bottle of pink glitter dust. These are really easy to apply - the bottle is glass, so easy to hold firmly. The full cap is soft rubber, and pulls off the bottle so that you can add excess back in afterwards. The tiny cap at the tip pulls off easily, so that you can dust your nail quite precisely.
I added topcoat just along the tips, and then dusted the wet topcoat with the glitter.
I really like this glitter - it's soft, and once your polish is dry, it seems firmly fixed. I typed with this for quite a while, and my keyboard was clear of glitter when I'd finished. This isn't the sort of glitter which can catch on things, or feel rough. And it's so delicately sparkly!
Next up, I tried the black polish which came in this kit...
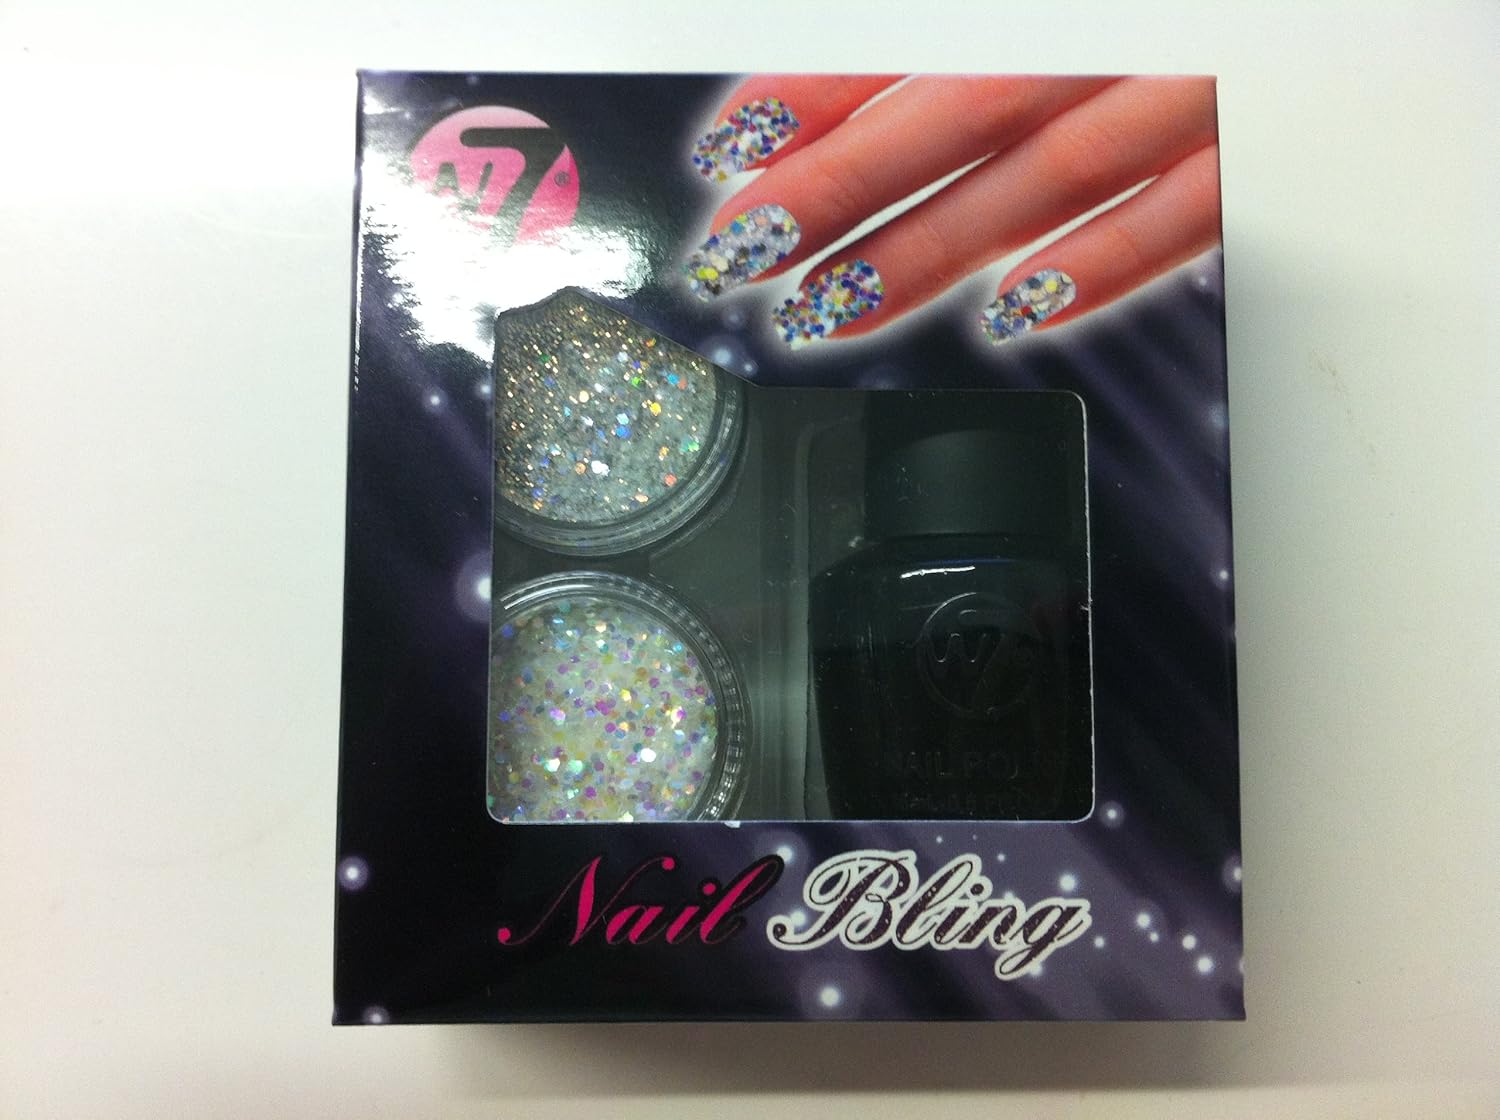
Now, as this photo isn't entirely clear (haha!), here's a photo courtesy of Amazon, where you can buy this kit for under £3.
Photo: W7, Amazon UK
This is the Nail Bling set in Black Night, which contains a black polish, and two pots of glitter.
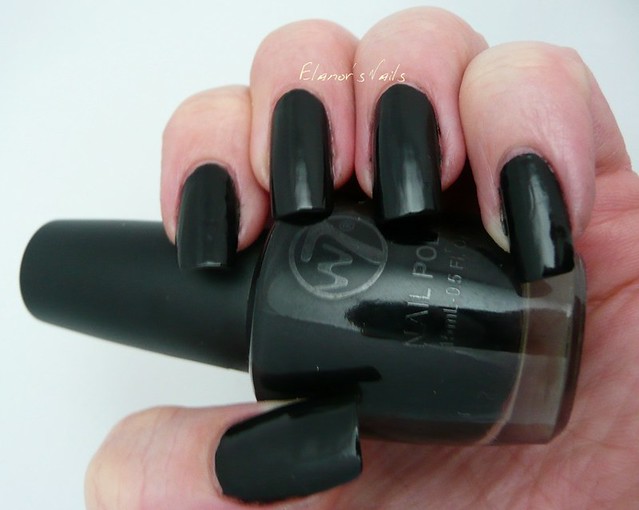
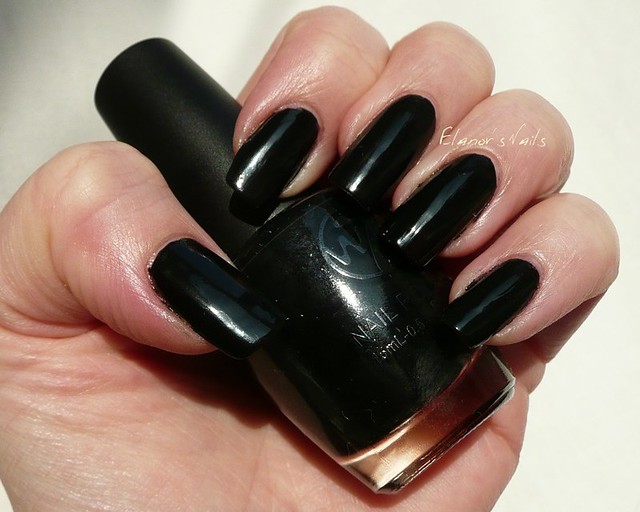
The black is really nice, I was very impressed with it. This is two coats, no topcoat.
It was almost a one-coater, but I added a second just to even up a couple of spots that weren't quite fully opaque. But the formula was really good, application smooth, and dries to a lovely glossy sheen.
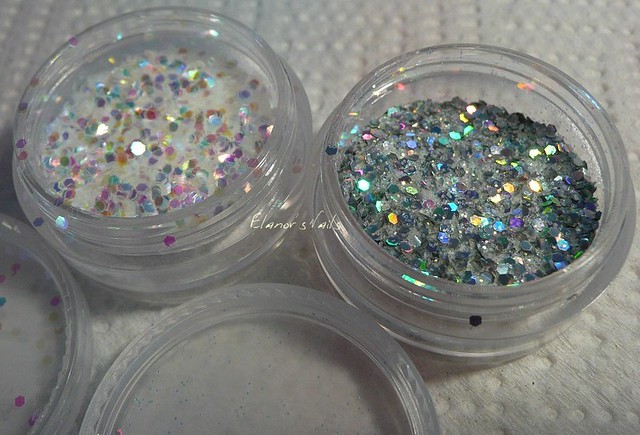
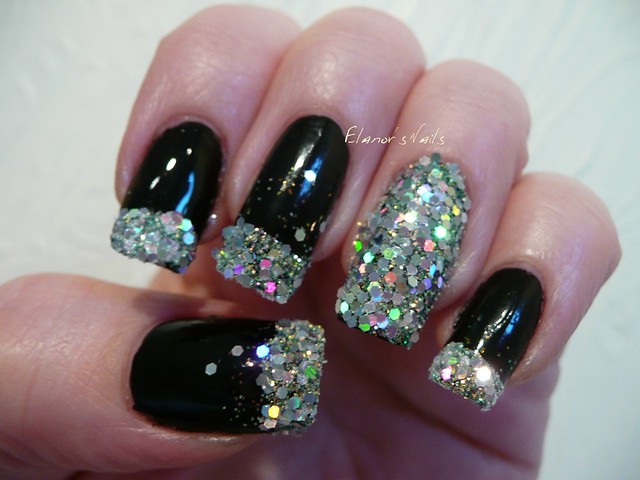
These are the two glitter pots. There's a clearish iridescent one and a silver one. At first, I thought they were both the same type - hex glitter which can either be placed individually (if you have time and patience, and good eyesight!) or dipped/sprinkled on, but looking closely, the silver one is actually a mix of large silver glitter, some white sparkly dust, and some other colours and sizes of glitter too. That was the one I chose to use.
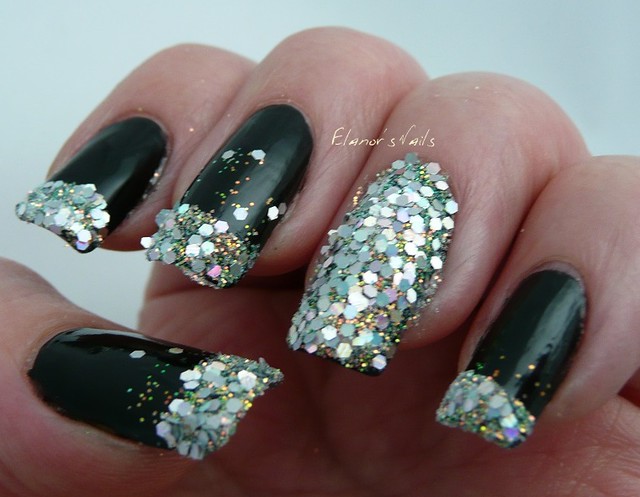
Over a piece of kitchen roll, I added a tip of topcoat to each nail, then dipped the nail in the pot. Then for my ring finger I painted the whole nail with topcoat and gently sprinkled from the pot. I could then use the kitchen roll to tip the excess back into the pot for next time.
As you can see, there are shades of gold, blue, green, pink and so on in there - the sunlight just made this come alive. It looked amazing outdoors!
This is ridiculously sparkly! This would be great for a night out. Or a sunny day. Or you know, just a day when you want to sit around in your pyjamas watching your nails reflect rainbows around your room!
I've been so impressed with these W7 polishes and products!
These products were provided for review purposes. All words and opinions are my own. See my disclosure page for more information.
Today I'm posting the second of my W7 reviews (for the first, click here). This is Metallic Saturn.
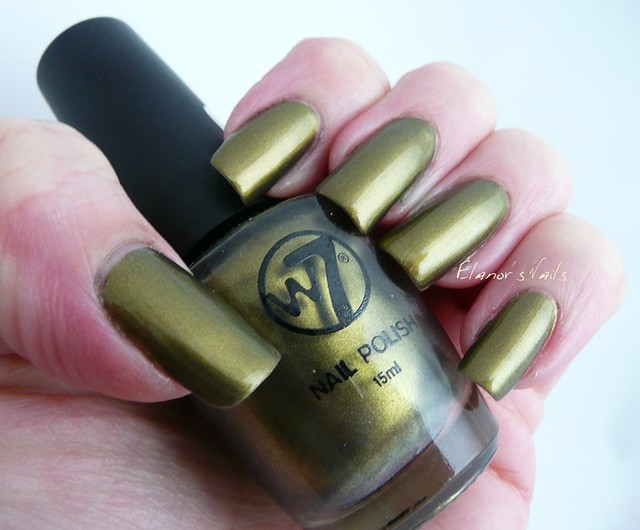
This is three thin coats, with topcoat.
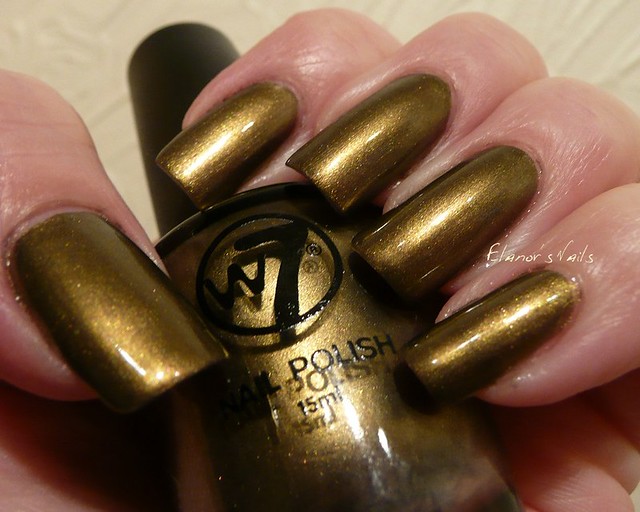
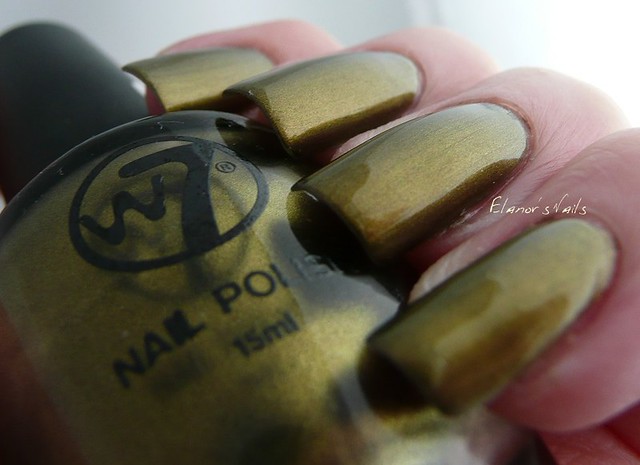
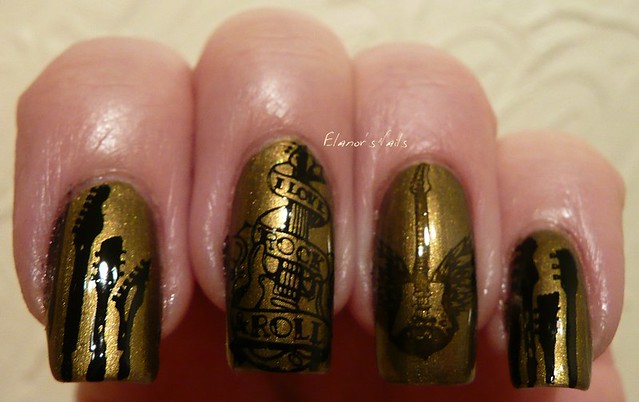
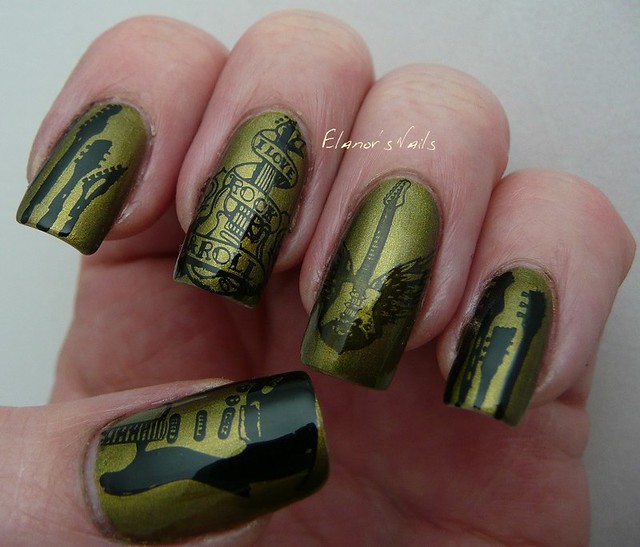
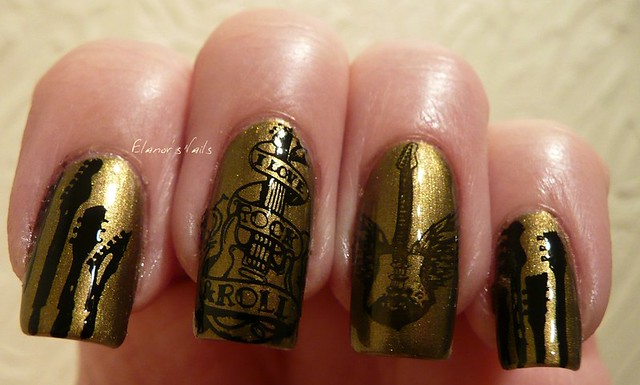
Metallic Saturn is a rich greeny olive gold, with an almost duochrome sheen. This is very similar to Chanel Peridot (which I do own). It's not a dupe, but at a tenth of the price, it's an excellent substitute!
The formula on this was a little trickier than the cremes I tried the other day - it's a little on the thin side, so it's a bit runny, which can flood the cuticles if you're not careful. However, it dries quickly and looks great! I really like this one a lot. The duochrome isn't very pronounced as a colour-shift effect, but the polish does look very different depending on the light, moving from a rich bronzey gold to a dark olive green.
I decided to add to this by stamping over it using MoYou London Rockstar XL plate 01. I used the large guitar, the guitar necks, the winged guitar and the guitar with the rock & roll banner, and Konad black polish.
I love how this looks! The winged guitar is a little fainter than I wanted, but apart from that, I think this looks good.
I can't get over how good these MoYou London plates are! They all work so well.
I'm really impressed how the details of the designs print so clearly!
This polish is excellent - I really like it. Looking online, it seems to be available in lots of places for under £2 a bottle, which is a bargain! Half the price of Barry M (and the bottles are 15ml, compared to Barry M's 10ml) - I would definitely recommend this, especially if you've been lusting after Chanel's Peridot at any point.
This polish was provided for review. All opinions and words are entirely my own. See my disclosure page for more information.
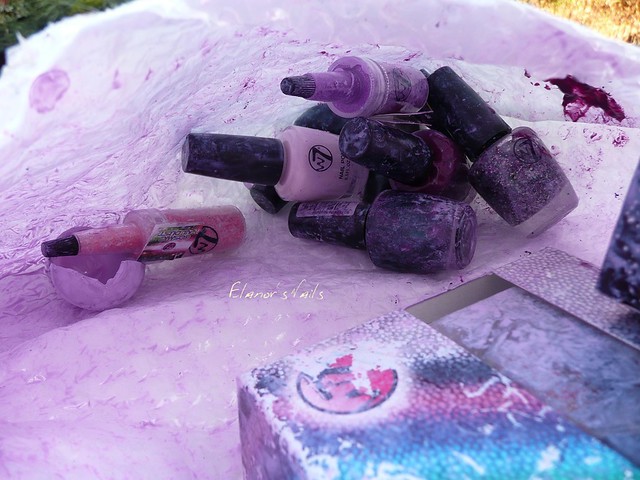
I was contacted recently by W7, asking if I'd like to try out their polishes. I was thinking maybe they'd send me a couple... they sent LOADS! But before the good news, the bad news! I went to collect my parcel from the sorting office, and the guy brought out a huge plastic bag and was very apologetic that he thought something may have broken. Uh oh! I could see a purple tinge coming out of the edges of the envelope inside the bag, and the smell was not good! Once I got the parcel home I had to open it outside because the smell was really really bad! Are you ready for this?!
Oops!
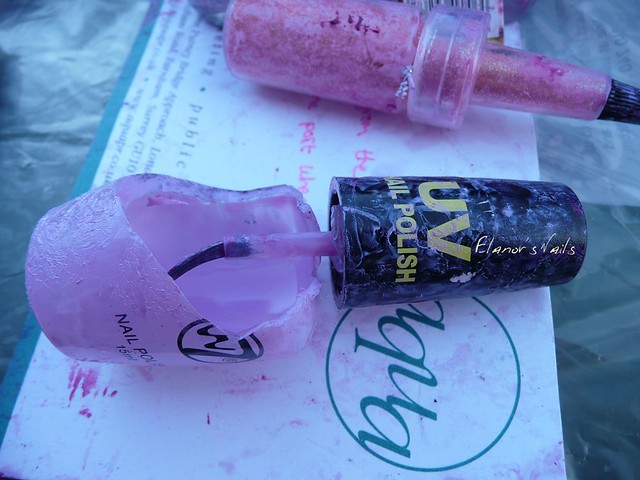
One bottle had broken and the polish was EVERYWHERE!
It's a shame, because this one looks SO COOL too!
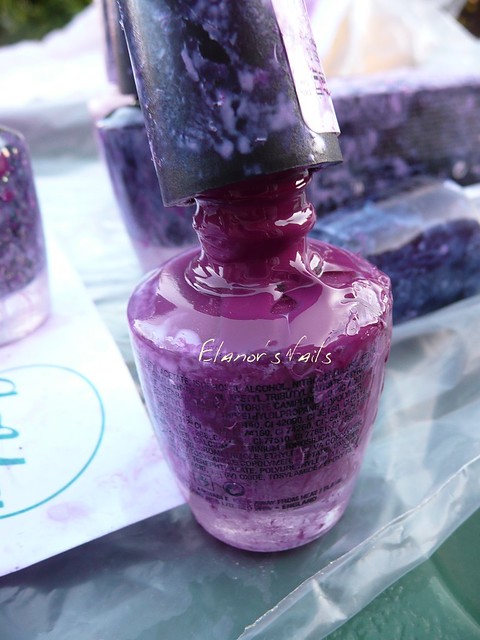
Another bottle wasn't closed properly, and some of that had come out all over the place too.
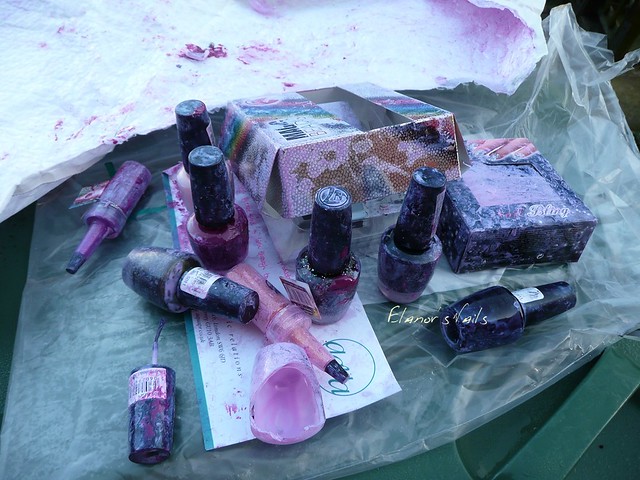
There's a kit of some kind!
And another one!
So much stuff!
After a big cleanup, I spent all Sunday trying stuff out. I'm going to split this post into two, because there's just too much to put in one post. Unfortunately, the clean up destroyed the boxes and the labels, so I'm not sure what the names of any of these colours are.
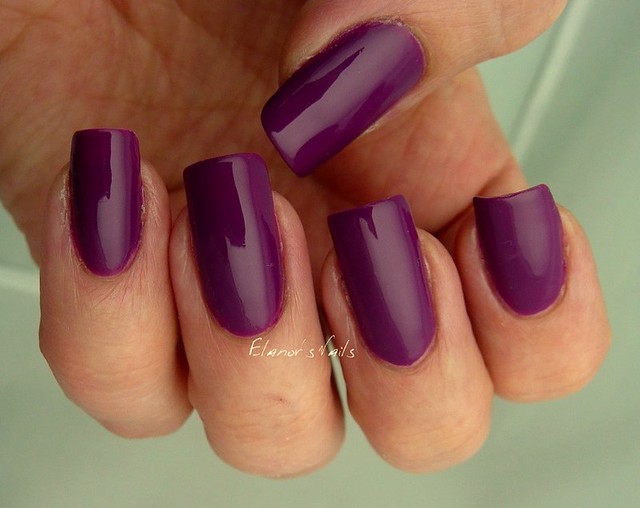
First up, I used the basecoat that came in one of the two kits (it came with some beads - more of those in the next post). It's a nice basecoat - applies smooth and dries quickly. With it, I used the purple creme. This is two coats, with no topcoat. This photo is in direct light.
The second photo was in my light tent, and the colour looks really different! In reality it's about midway between the two photo.
I was really pleasantly surprised with this polish. I've never tried W7 before, but I think I had it in my mind that it was a bit of a 'cheap' high street brand that I assumed wouldn't be very good. I don't even know why I thought that! Anyway, this was smooth and even, applied well and dried nicely. The brush is nice - not too wide or too long, and I found the application very easy.
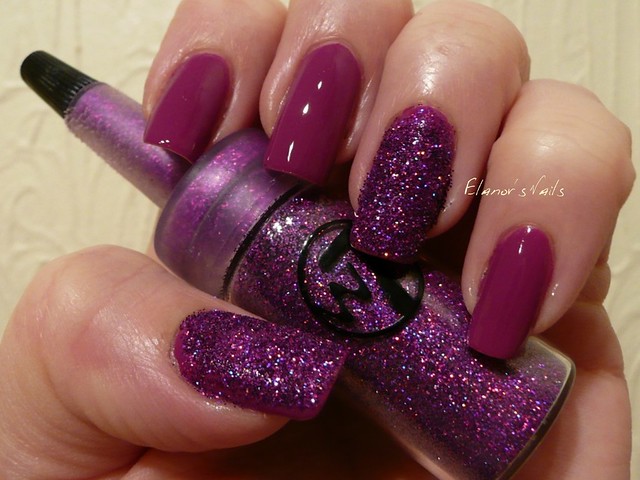
I then used the little bottle of sparkly glitter dust in the purple colour to match. I just added another coat of polish to the nail, then tipped dust over the wet nail (over a bit of kitchen roll to collect the excess) and pressed it in lightly. This was really sparkly! I love how pretty it is. It's so hard to get a photo that shows how sparkly it is though.
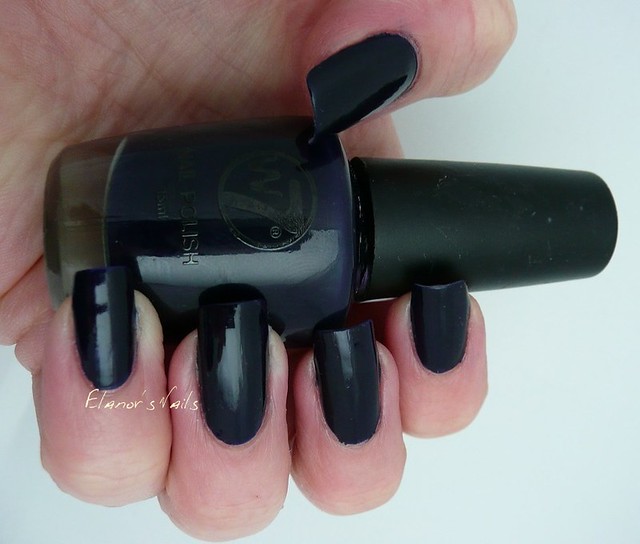
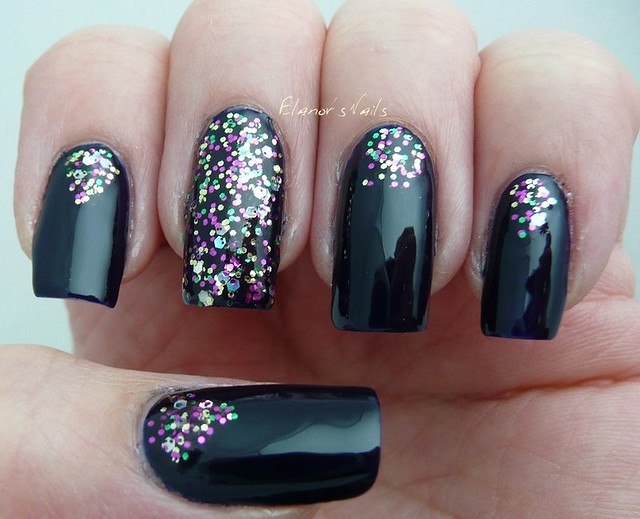
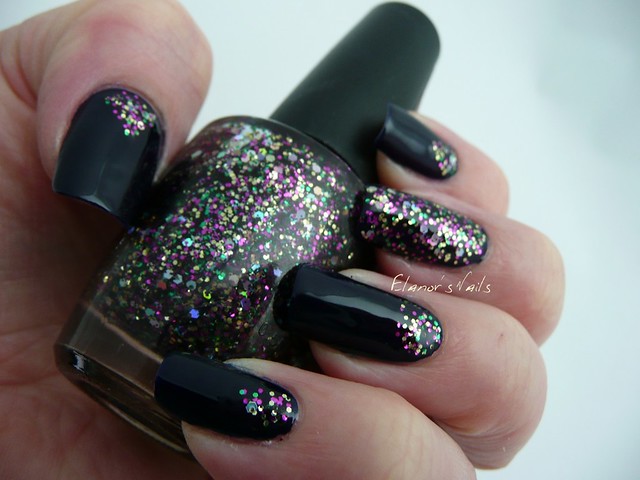
For the second look, I used the dark blue creme.
Like the purple, this is a really nice consistency and application. This is two coats, no topcoat.
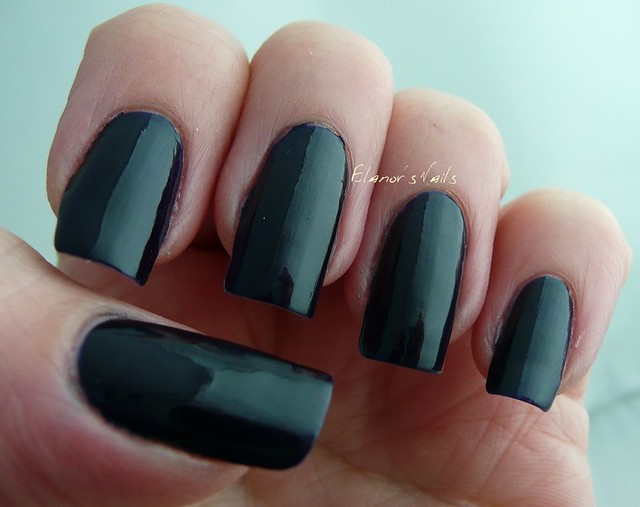
I really like this - it's a very dark navy blue, almost black, but not so dark that you can't see the blue. Definitely one I'll use again.
I then jazzed this up with the glitter polish. This is a clear base with lots of colourful glitter in it - gold, silver, purple and green I think, plus some tiny glitter in pinky purple colours. It's so sparkly! I freehanded some approximate triangles at the base of the nails, and covered the ring finger.
Isn't it pretty?
I definitely like this glitter!
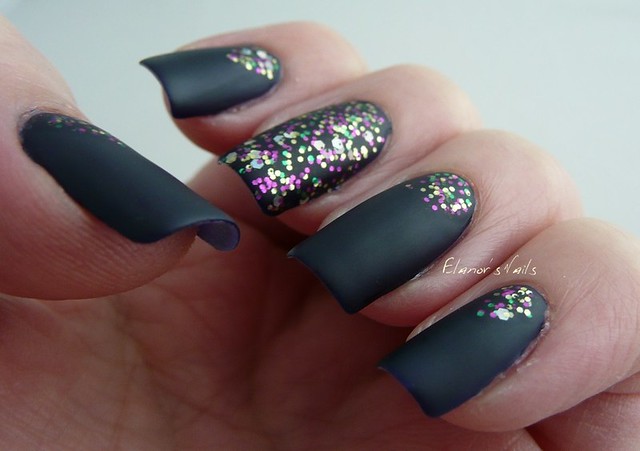
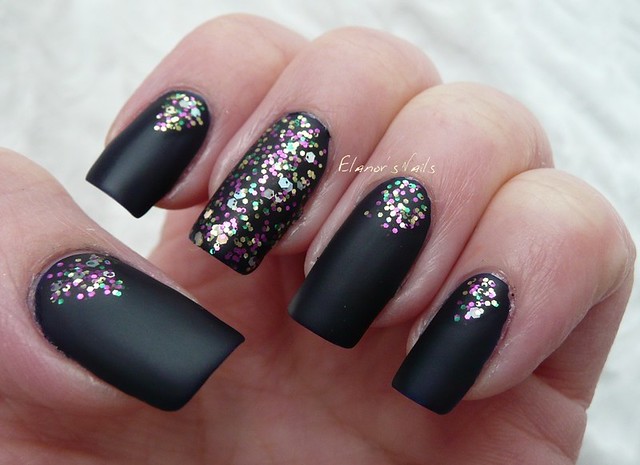
I wondered what it would look like matte, so I added a coat of Rimmel Pro Matte topcoat.
I love the way this looks too!
W7 polishes are available at New Look and Next, and online from various cosmetics websites. The recommended retail price is apparently £4.99 for the standard polishes, but I've seen them cheaper than that in several places. Much as I liked these polishes, I'm not sure that £4.99 is a price I'd pay - Barry M is usually £3.99, and many high street brands seem to be around the £3-£4 band, so I think that would be a more suitable price for these. Having said that, I've seen these on sale for well under that price too (places like TKMaxx often seem to stock W7, especially the kits and box sets) and that makes them a bargain!
I'm really impressed with these! Watch out for part 2 of my review coming up this weekend! I have 4 more polishes, and some other nail art stuff to show you.
These products were provided for review purposes, but all words and opinions are my own. See my disclosure page for more detail.