I was so excited to be asked to review the June Nailbox! I've seen so many of these subscription boxes around for everything from dog toys to makeup to sweets, and only fairly recently heard about Nailbox. I'd heard good things, so I jumped at the chance.
Nailbox is a subscription service where for £13.50 a month, you get a box with
three or four different nail polishes, and one or two nail care or nail art items. These include lots of big brands like OPI, China Glaze, MoYou London, Nails Inc and many others. I was skeptical at first - I have so much nail varnish already, surely I would get a duplicate or colours that are similar to what I already have?
The June 2016 box is themed around Festival Fever, and contains 4 polishes and some nail art tape.
OPI Is Mai Tai Crooked - usually costs at least £9
Bourjois Turquoise Block - usually costs around £5.99
Rimmel Cheeky Chap - usually costs around £2.99
Essie Jazzy Jubilant - usually costs around £7.99
Elegant Touch Metalllic Nail Art Tape - usually costs around £4
So I calculate the value of the box at around £30, which is obviously lots more than the £13.50 the box costs! In fact in some shops, you couldn't buy one bottle of OPI for that amount.
It was also a big plus in that there were no duplicates in my collection, and the OPI and the Essie weren't even similar to any polishes I own. The nail art tape is gorgeous! There are five long strips each of 6 different colours. I use striping tape from time to time, and not as often as I'd like, because I generally find the rolls really fiddly to use. I love the idea of having nice short strips all ready for you to peel off the card! Plus, look at that third one down! It's copper, but it's full of rainbows in the light!

So, what did I do with the contents? I decided to try two different looks. First up is a floral design. I started with a base of the Rimmel, which is a one coater that applies nicely and dries to a matte finish. Then I freehanded some leaves with the Bourjois, and flowers with the OPI. I found that the green didn't really contrast with the blue enough to show clearly in the photos, but it was more obvious in real life. I sponged a bit of the glitter from the Essie into the flower centres and topcoated everything. I wore these nails for two days.
My thoughts about the polishes after making this first design was that the Rimmel was really nice, and I really really like the peachy orange of the OPI. I didn't feel I used enough of the Essie or the Bourjois to really comment.
Next up I wanted to swatch all the colours individually. I made a skittle across all my nails, and then used the tape to make a rays design on two of my nails.
The green swatched beautifully - it applies really well and is another one coater. The OPI is a gorgeous colour, but is a bit thinner and streakier than the other two, and needed two coats. I preferred to topcoat the Rimmel one, as I wasn't crazy about the matte finish.
I did the ray design freehand and then added the tape to cover any wobbles on the joins. I topcoated over everything just in case the tape wasn't sticky enough (I think it was though) and because I want to wear these for a couple of days.
Overall, I'm massively impressed! I'm trying really hard to spend less at the moment, but I am so tempted to sign up. The August box is called "Into the Sunset", which sounds gorgeous. It's my birthday in early September, so maybe I need to treat myself!
You can check out Nailbox on their website here.
This box was provided by Nailbox for my honest review. See my Disclaimer for more details.
A friend recently gave me a surprise present - look how cute this set is!
I've heard of the brand but only very vaguely, and never seen it in shops at all. My first try is the silver one.
This is two coats of the silver. I don't think it has a name, although perhaps the number is the identifier.
The formula of this was really nice. This is two coats, but it was almost a one coater. The polish is smooth, easy to apply neatly and dries quickly. I'm not crazy about the brush, as the square lid is quite awkward to hold, but it's not so difficult that it spoils the application.
Of the silver polishes I've tried, this is one of the better ones by a long way. It's not brush strokey, and it didn't chip or peel in the three days I wore this. The shine is really nice, and seems to have a real glow to it.
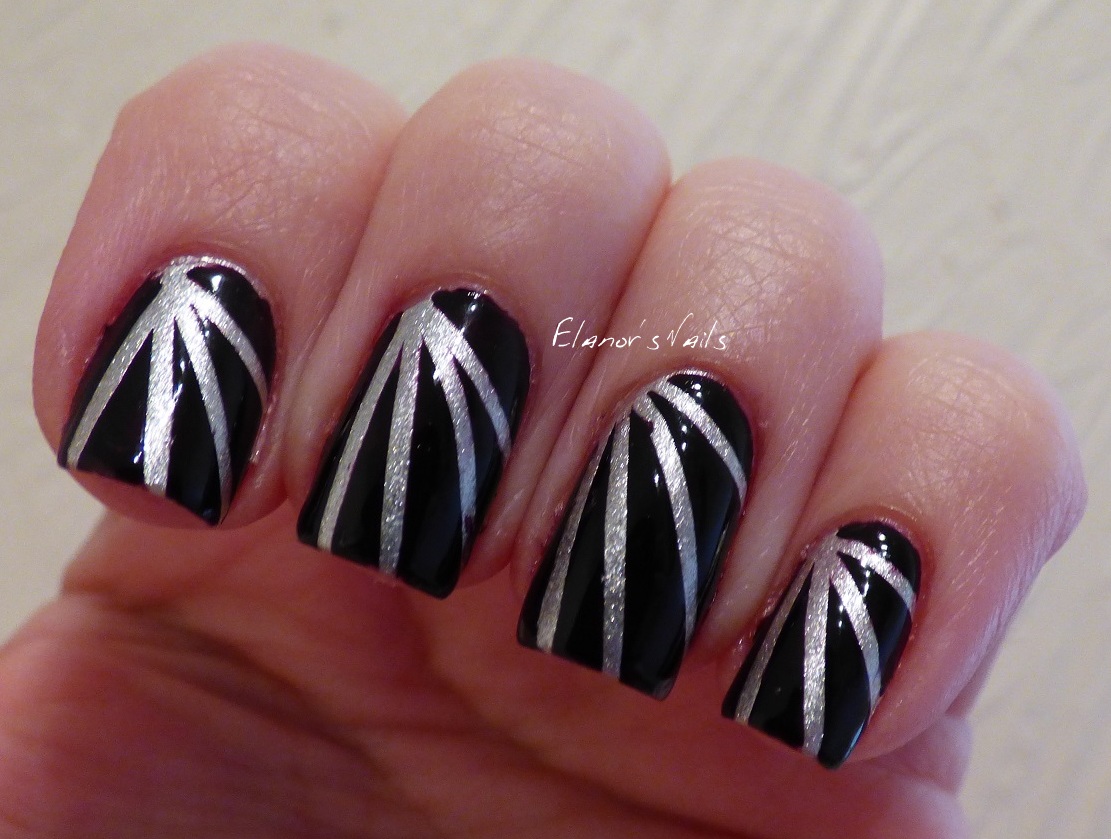
After two days I used striping tape and Barry M Black Currant to make a rays design.
I like this look too, although Black Currant still just looks black to me - it's very hard to see any purple there!
Following on from the success of last week's rainbow rays tape design, I thought I'd do something similar with neons today, and put it on all my nails. I started with a base of two coats of Barry M Pearl, the matte white from the Silks range. The Silks are really good for tape designs, as they dry really well and the tape doesn't lift up polish.
Then I added striping tape, painted over with my colours, and quickly removed the tape before the polish dried. I added topcoat (Seche Vite, as usual) and that was that.
I really like this for a sunny day! And tomorrow is Monday (booooooo!) so maybe they'll keep me moderately cheerful for a change.
The colours were: OPI Roll in the Hague, China Glaze Creative Fantasy, Models Own My Midori, Models Own Bubblegum and China Glaze Sunday Funday.
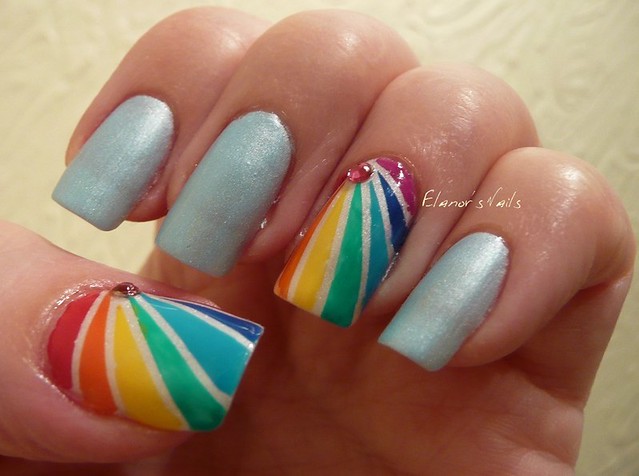
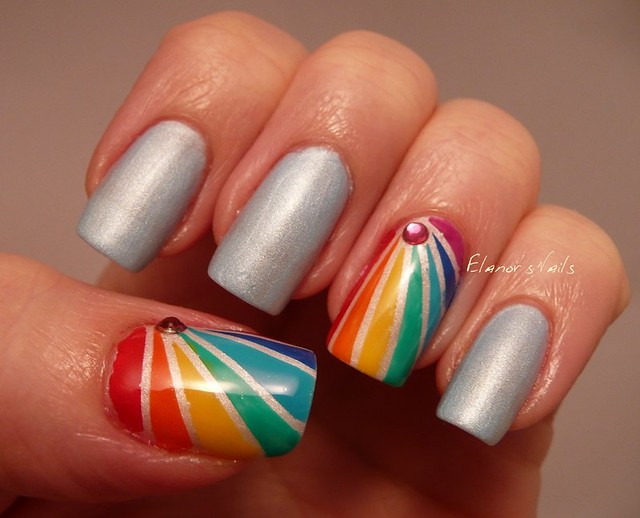
I'm SO excited about these nails! I saw something similar on a blog ages ago and wanted to have a go, but thought they'd be really fiddly - as it turns out, it wasn't too bad at all!
I only did the design on two nails, just in case it took forever. The other nails are Barry M Mist - from my much loved Silks collection. I love these, the formula is really good, and I really like the matte but slightly pearly finish. I used Pearl, the white one from the Silks range as a base on my thumb and and ring finger.
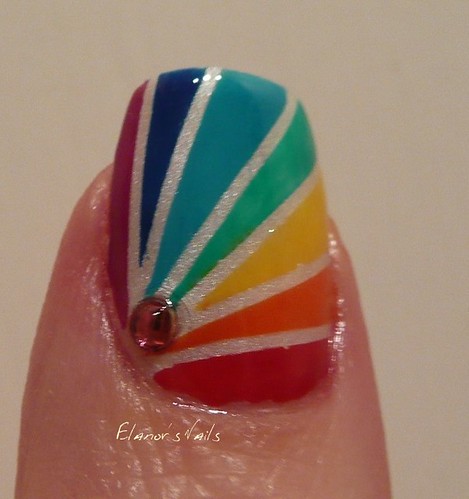
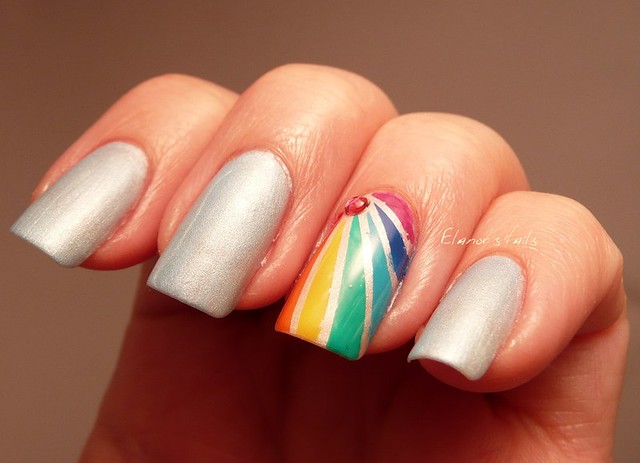
I then added striping tape in a ray pattern on my accent nails, and painted each stripe separately. The colours I used were: Barry M Bright Purple, Barry M Cobalt, Barry M Guava, MoYou London stamping polish in Green, Barry M Yellow, Barry M Block Orange and Rimmel Pro Heart on Fire.
When the tape was removed, I was left with this lovely bright rainbow pattern. I then added a pink rhinestone to each nail, topcoated everything, and that was that. I love the result!
I've worn these to work yesterday and today and the stripes are still perfectly in place, so I'm leaving them on for another day tomorrow. The blue nails are a bit scuffed, so I'm going to carefully take that polish off, and do something different on those fingers - maybe even some more rays!
I've got loads of ideas now about how to vary this design! Maybe an ombre skittle, with dark to pale shades of the same colour, but a different colour on each nail? Or maybe a gradient effect across the nails. Or... ooh, all sorts!
I've also just joined a Facebook group for British Nail Bloggers - see my British Blogs Page for more details (and to add your link if you are a British Blog!) and have a browse of the lovely ladies' fabulous designs this week on the links below!