I have done cherry blossom nails before, but it was a long time ago and I wanted something springlike this week. I was also in the mood to do something that wasn't stamping for a change!
I started with a gradient of white to blue, using Barry M Cotton, Huckleberry and Blueberry Ice Cream. Then I used Zoya Cheryl and a dotting tool to make the branches.
Then I used a fine brush and a mix of Barry M Rose Hip, Strawberry Ice Cream and Pink Punch to dab on the cherry blossoms.
I found this really hard to clean up! The gradient made a lot of mess round my cuticles, and I struggled to clean it up properly. I love the design though, and people commented on my nails several times at work today.
This is my March Polish Party design - this month's theme is Spring! Check out everyone else's designs by clicking the links below!
I haven't done the Polish Party posts for a couple of months at least now. I don't know why... Anyway, this month's theme is Stamping + 3 Colour Gradient. Instead of stamping OVER a 3 colour gradient, I decided to stamp WITH a 3 colour gradient instead.
I started with a base of Barry M Coconut. Then I used MoYou London Tropical plate 11, and a combination of Barry M Gellys in Mustard, Mango and Satsuma. I just dabbed a bit of each on the plate, and mixed them as I scraped before stamping.
This design is a leafy pattern, which I suppose makes no sense in orange, but I still like how it came out! I used greens to start with, but I didn't like the look, and changed to oranges, which somehow works, I think.
Check out the other ladies' designs for this month's theme!
I'm sneaking in at the very last minute with my August Polish Party nails! This month, the theme was Glitter and Gems, and as I'd just had a sparkly delivery from the Born Pretty Store, I went for both!
I bought these 3D charms from the Born Pretty Store recently after I reviewed a similar set only without the colours. You can read that post here. This new set is item #12396 in the Born Pretty Store, and costs $3.79 for the pack. As you can see in my photo, the colours and shapes aren't exactly the same as those on the store website, but they're a similar mix.
I started with a bare nail, and taped off a triangle at the base of each. I then used a variety of glitters to pain my nails - from thumb to little finger they are China Glaze Emerald Sparkle, 2true Naomi, Zoya Sunshhine, China Glaze Material Girl and Zoya Solange.
I then removed the tape, and when the glitter was dry, added topcoat, stuck the gems down while it was wet, and that was that. The topcoat held these fast with no problems. Yes, I wore sparkly glitter 3D rhinestones to do a Sunday morning Sainsbury's shop, what of it?!
These are reusable - I just wiped the backs with a bit of nail varnish remover on cotton wool when I took them off. I did manage to take off the foil backing on the first one I cleaned (a green one) and realised that that also removed the colour, so that particular one is now clear and sparkly instead. But a gentle wipe was fine for all the others, and I'll be reusing them soon!
Aren't they pretty? I love these 3D sparklies!
Today's post is making me feel proud and furious at the same time! This month's Polish Party theme is a really good one, and I was really looking forward to it. The theme is to recreate the very first nail art you did!
I have no idea what the very first nail art I did was, but I can see the very first nail art which I posted on this blog. You can read the original post from back in October 2011 here. It was my very first attempt at using tape for a nail design, and I had intended to do rays on all my nails. However, I found it so fiddly (I hadn't heard of striping tape!) that I only did one nail, and then did basic chevrons on the others.
Here's what it looked like back then!
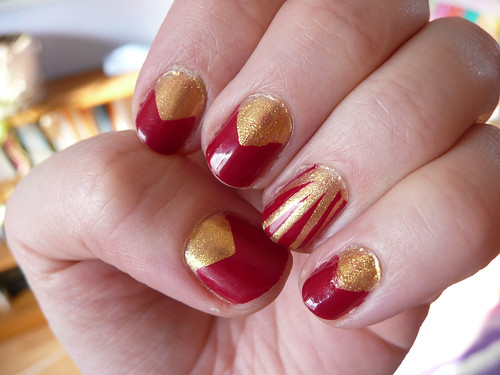
Now that I know about striping tape, I did what I had intended to do on every nail instead of just the accent. I used the same polishes, Models Own Gold Rush and Barry M Raspberry. Just as I was feeling really pleased with myself, I managed to make a huge smeary dent on my ring finger!
I didn't even notice the smear while I was taking the photos! I considered taking it off and starting again, but by this point I was a bit fed up of striping tape and wanted to go to bed!
Where I think I have improved:
- application of the actual polish
- clean-up
- use of tape
- nail shape (I hate how my old nails look! To me they look so childish and odd!)
- hand pose
- photography (haha at my old one with my living room in the background, and rubbish lighting!)
Where I have NOT improved:
- not being a complete clumsy idiot! Ha! People who know me know that I spend most of my time walking into corners of desks, getting sleeves stuck on door handles, getting my pony tail caught in car doors and dropping food down the front of a clean top. At the ripe old age of nearly 42, I suppose this will never change!
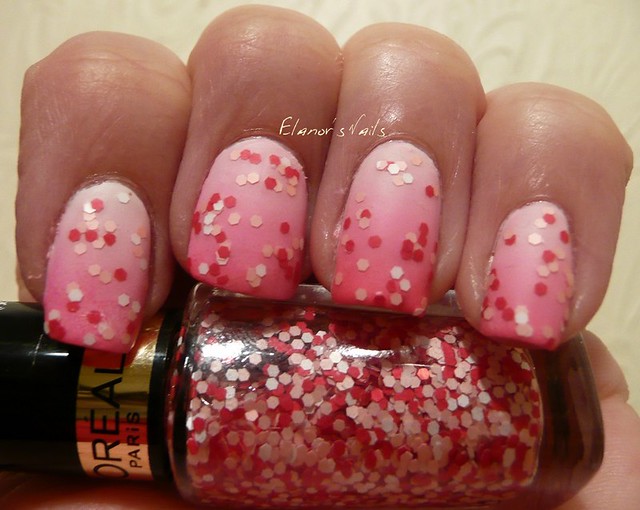
The theme for this month's Polish Party nails is Gradients. I've never been very successful at these (you can see my previous efforts by clicking on my 'gradient' tag) and wasn't really relishing the theme. But then I watched a couple of tutorials online again, and realised I'd been doing them all wrong! So I thought it was worth another go.
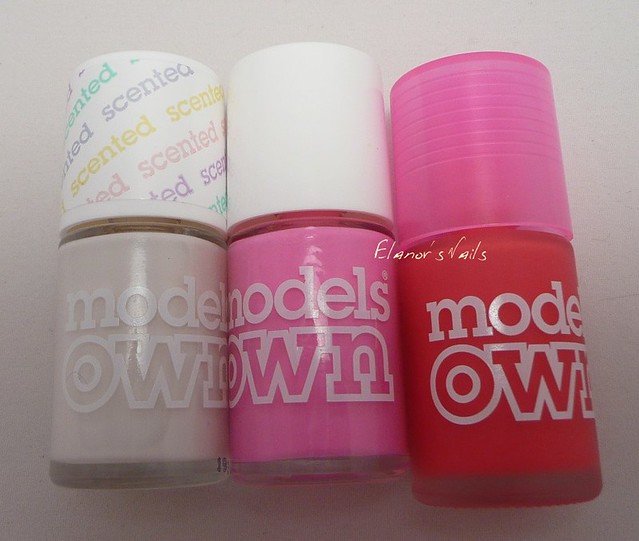
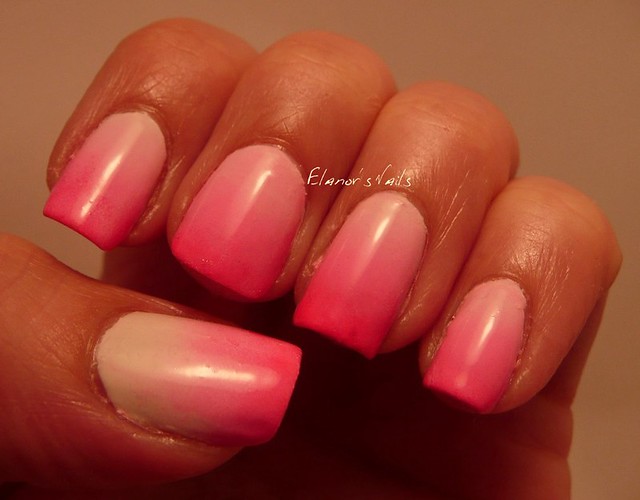
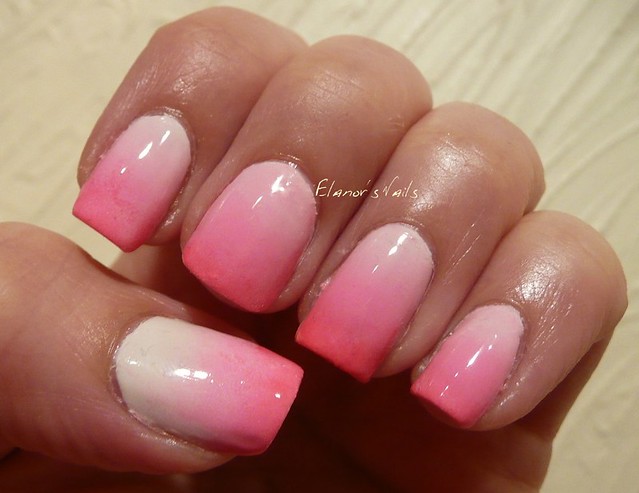
I used these three Models Own polishes - Coconut Cream, Sun Hat and Bubblegum. When I did gradients before, I didn't really sponge on both colours at once - I did one first and then the other. I also used really narrow bits of sponge, thinking it would be neater and give me more control. It turns out that it is a million times better to sponge both colours together (or three, or whatever) and to use a sponge that's wider than the whole nail. I should have known that tutorials by The Nailasaurus should not be ignored! Anyway, this is what I got:
It's so much better than previous gradients I've done!
It's not perfect (there are bits of sponge in there, ha!) but it is a huge improvement and I'm delighted.
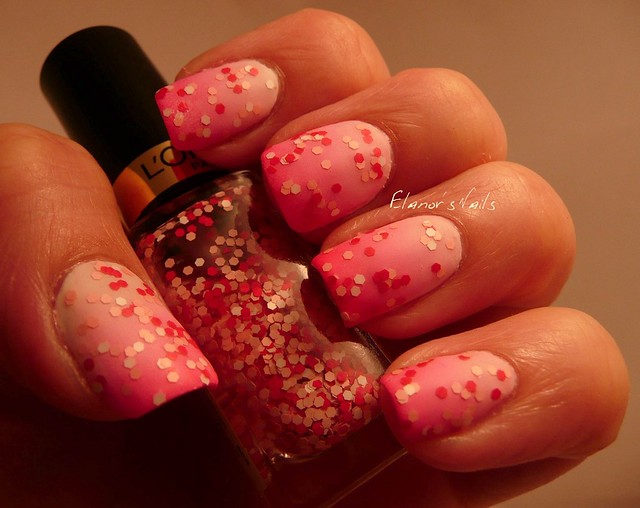
I then decided to jazz it up a bit more with a matte glitter topper I bought a couple of weeks ago - this is L'Oreal Graffiti d'Amour, a mix of white, pink and red glitter, which works perfectly with the polish colours I'd used. Then just for good measure, I added a coat of the new Barry M Matte topcoat as well.
I'm really pleased with how this turned out! Now I know how to do a gradient properly, I'm going to do more!
You can see the rest of the Polish Party's gradient nails here. Please do click and have a look at everyone else's designs! (Come back later as more are added!)
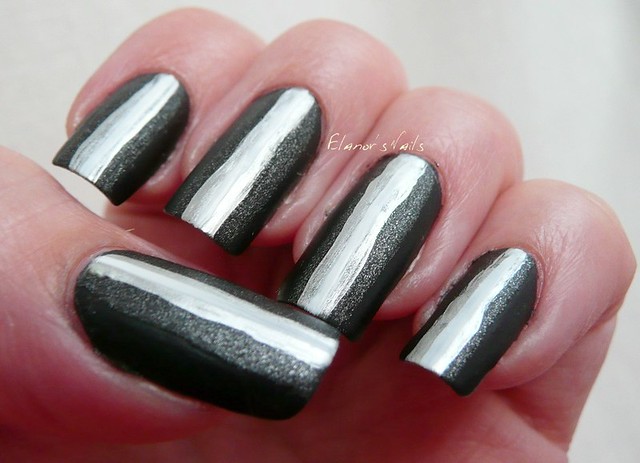
It's Polish Party time again, and this month's theme is 'Inspired by Another Member'. There are many very talented ladies in this group, and lots of designs I could have chosen, but one design I keep coming back to again and again is the gorgeous ombre stripe design by Madison at Fundamentally Flawless. She has done this design in pink, blue and green, all of which I love, and she has posted a tutorial, which makes it look super easy!
 It isn't easy at all!
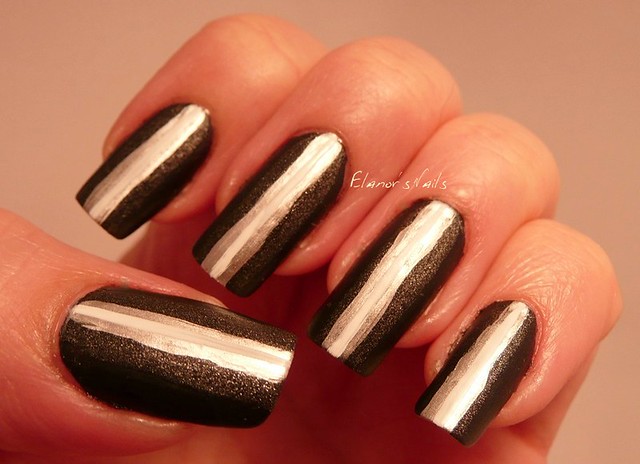
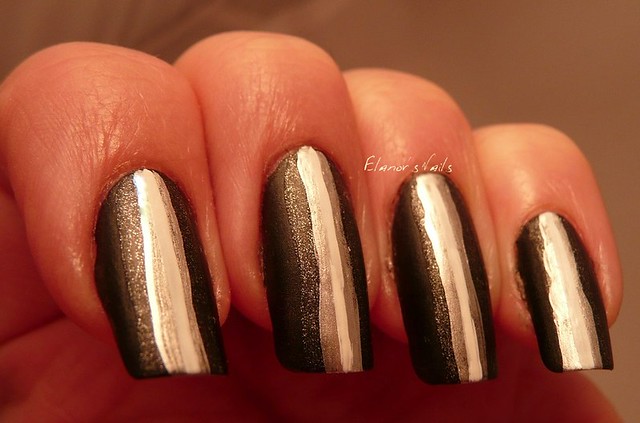
I love the bright colours that Madison used, but I wanted to see what it would look like in monochrome colours. I started with a base of OPI 4 in the Morning, a matte black. Next I used China Glaze Stone Cold, a gritty dark silvery grey. Then I used OPI Push and Shove, the bright silver chrome, using a narrow nail art brush. Finally I added a stripe of Konad White using a thin striper brush.
I'm not at all pleased with these: the contrast between the colours is all wrong, so instead of being ombre, it's more of a dark bit, and then a light bit. As you can see, the white line isn't really visible on top of the silver. My lines are too wobbly too for my liking - I found it really hard to keep a steady hand - I just can't paint in a straight line!
Oh well - maybe I'll get it better next time!
Have a look at the rest of the group's posts on the links below - as you can see, it wasn't just me who had a go at Madison's design!
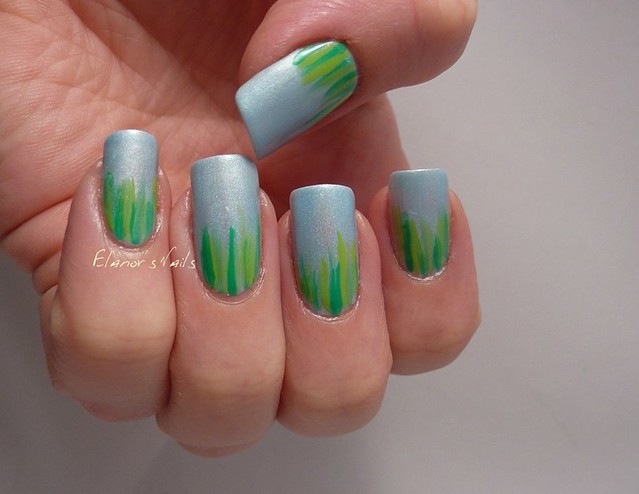
March's Polish Party theme is SPRING! I love spring. I am not a fan of winter, and often find the winter months very depressing. When spring starts coming round, and the days are longer, the trees start budding and the flowers start coming out, I always perk up a lot.
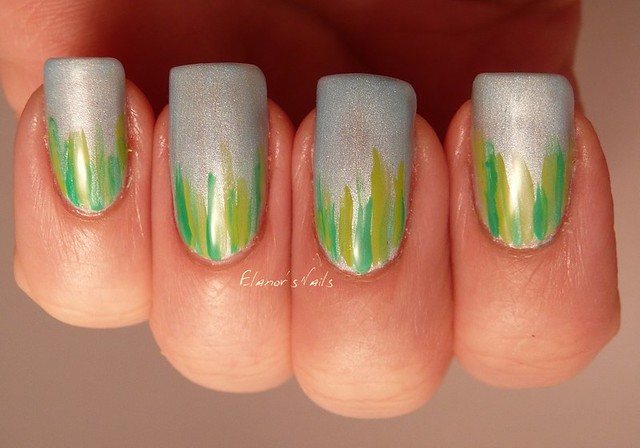
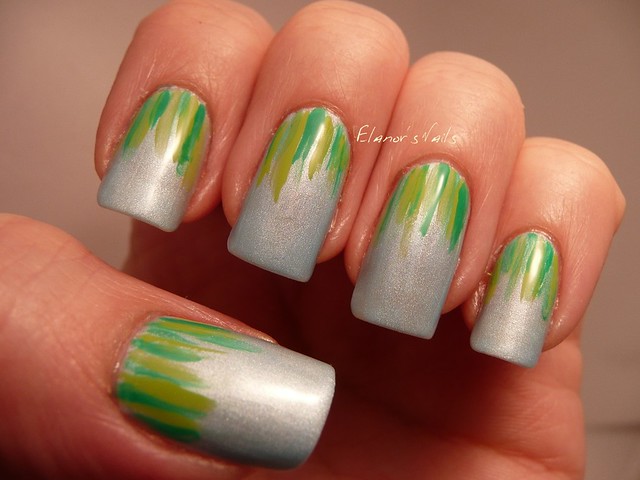
For quite a while I've been wanting to copy The Nailasaurus's waterfall nails, but with a blue/green colour scheme to make grass against a blue sky, and I thought this would be the perfect opportunity. The blue is Barry M Mist, from the Silk collection - this is two coats. I love the silks, they're so pretty and apply and dry so well!
I then added the grass using all Barry M polishes - Spring Green, Meadow and Key Lime - and a thin striping brush. I think perhaps my brush wasn't as fine as it should have been, as the lines aren't as thin or as delicate as I'd have liked, but this does look pretty at arm's length.
You can see all the other Polish Party posts this month here:
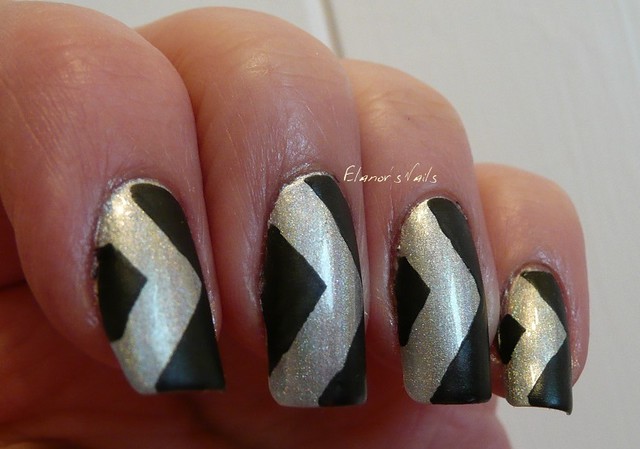
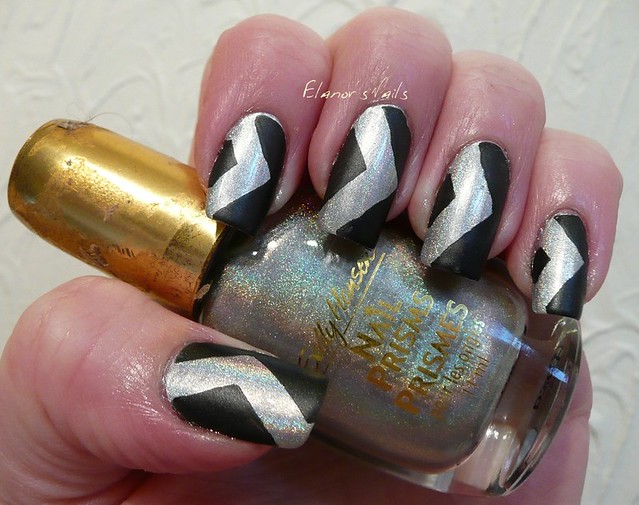
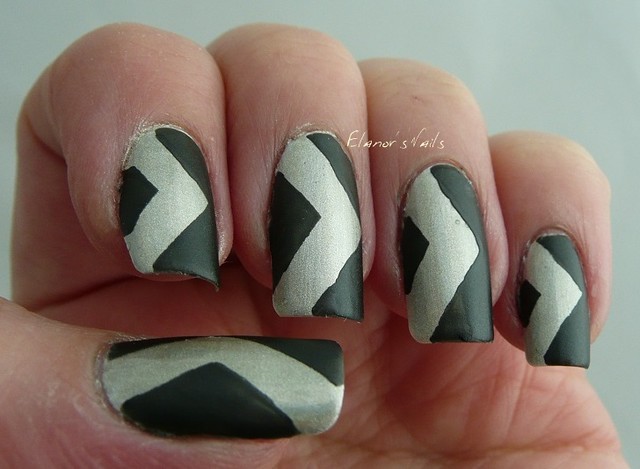
I'm a bit late posting, but the theme for February's Polish Party is... CHEVRONS. When I've done chevrons before I've used either special tip guides (I bought some in Superdrug, but they've all be used up now) or sellotape, but today I made my own out of paper labels. I folded one label in half lengthways, and then cut it off in diagonal strips, giving symmetrical guides. Because in the past I've done chevrons pointing towards or away from the tip of my nail, I decided to do these sideways instead, and to try and get them to look like chevron road signs.
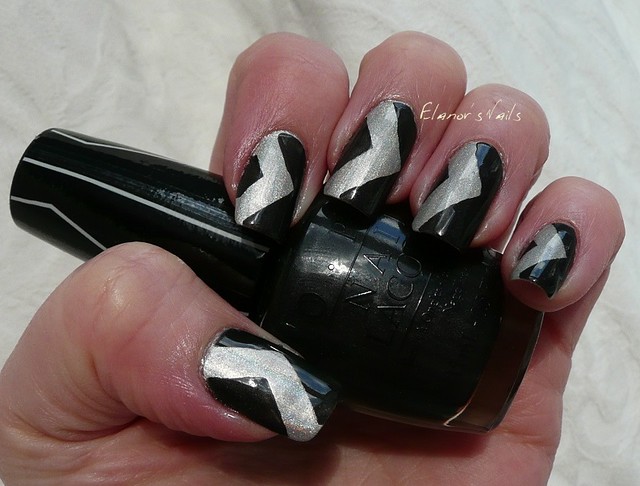
I wanted a silver holo base, so I used my ancient Sally Hansen Nail Prisms in Diamond. Because that's so thin, I started with a base of Barry M Silver Foil, then added two coats of Diamond. Then I placed my guides, and added a coat of OPI 4 in the Morning from the Gwen Stefani collection.
I like the contrast of the matte black and the holo silver. I like that the silver looks dull in some lights, and crazy holo in others, just like the road signs.
I also tried this with a topcoat, just to see what it was like. I'm not sure I like it as much though.
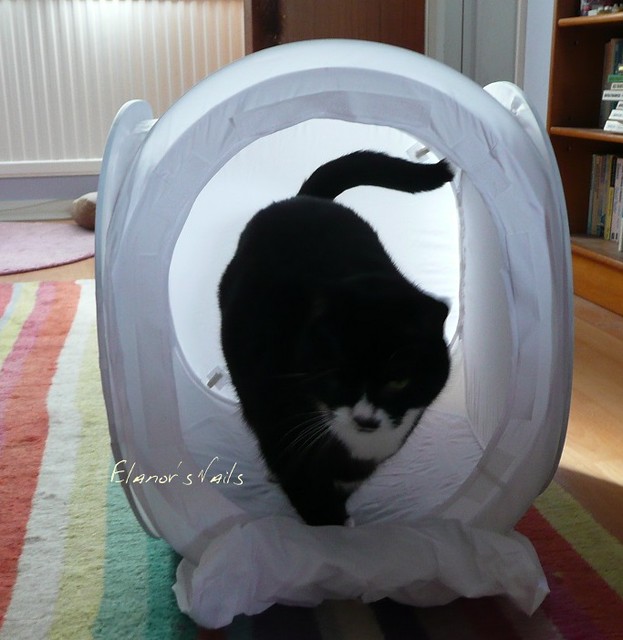
My main excitement today is that I bought a tent light box! My boy Ferg immediately claimed it!
I took a couple of photos in it quickly, but of course the holo doesn't show properly in it. I need to have a play around with my lighting to get this working properly, but I'm excited! No more wavy bathroom wall background!
Somehow my skin looks MUCH drier in there!
To tie in with this month's theme - this week I encountered a teenage boy called... CHEVRON. Yes, really.
Check out the other Polish Party posts here:
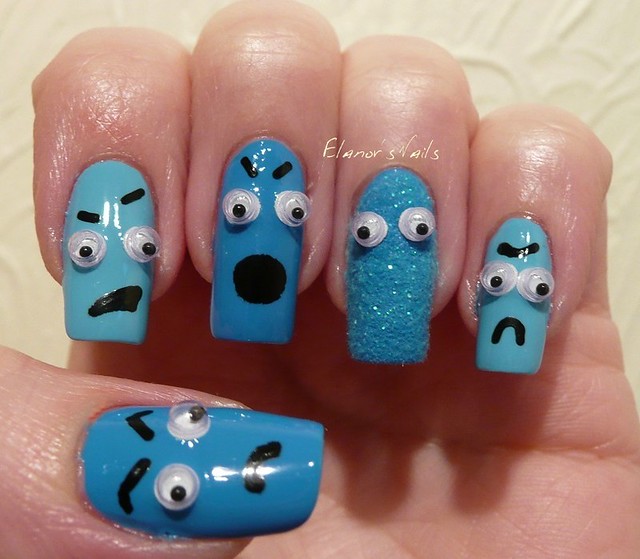
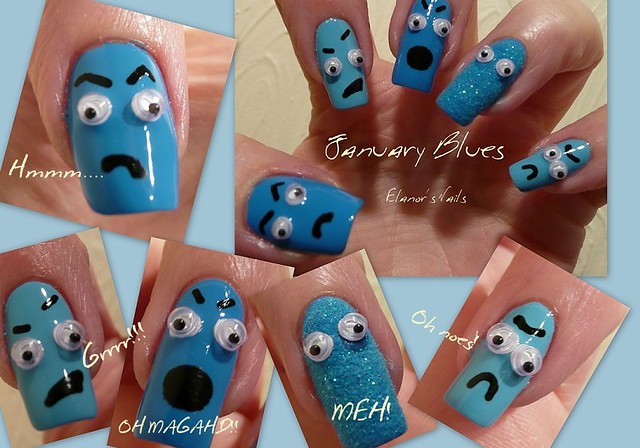
The theme for January's Polish Party is "January Blues". I know that for many people, January is a really depressing month. I actually find December far more depressing, and quite like January as a bit of a chance for a fresh start. However, I have spent a lot of this month being REALLY angry, so I decided to make my January Blues about that...
These nails were done with Barry M Blueberry Ice Cream and Cyan Blue. I then added the googly eyes, which were a birthday present from a good friend last year. The faces were drawn on using a Barry M nail art pen. The accent nail furry monster was made with some cheap fluff particles I got from Hobbycraft ages ago.
I'm really happy with these! It's fun to sit and wiggle my fingers and make the eyes move! And the faces sum up the emotions I seem to have been having over the last month!
Check out the other Polish Party ladies' designs here:
I'm really excited at the moment because I've joined a group of talented ladies called Polish Party! They post at the end of every month, with designs on a theme, chosen each month. See my Polish Party page for details of everyone! This month the theme is black and white. I decided to do a skittle of all different things, as I couldn't decide on one look.
First I painted my nails with base colours. On my thumb is my favourite black, Rimmel Black Out. On my little finger is Zoya Storm, a lovely glittery black. On the other three fingers is Essie Blanc. I then decorated. On my little finger I stuck some small white flower stickers that were part of a birthday present from a friend. On my ring finger I freehanded (using a fine brush and a combination of Zoya Storm, Rimmel Black Out and Essie Blanc) what was meant to be roses. I'm quite disappointed with how they turned out though, as they look more like splodges than roses...
On my middle finger I used striping tape and a coat of Rimmel Black Out to make stripes. Again, I wasn't quite happy with these, as they aren't totally clean. It doesn't show at arm's length, but it looks messy to me in closeup. On my index finger I used a tiny bit of a gingham nail decal from a Born Pretty Store set which I have just received (review and a proper look coming up very soon!) I love this one - gingham is so cute, and I managed to keep this neat.
On my thumb I stamped with Konad White polish using my new Christmas present stamping plate, Mo-You London Rockstar 01. However, I managed to mess this up by not picking up enough of the design, leaving a blank bit at each end of the nail. I then made it worse by trying to fill the gaps, which just made it more obvious!
To finish with, I wondered whether it would look better matte, so I added a coat of Rimmel Pro Matte Topcoat. I quite like this look, but the faults that make me dislike the look initially are still there. Oh well! If you don't look too closely, they're ok!