
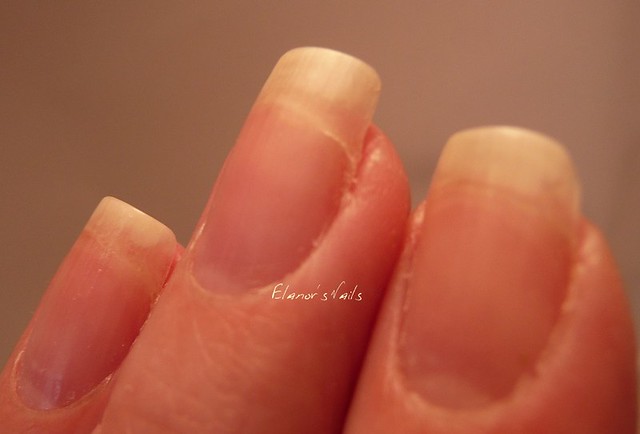
Here's the break. As you can see, it's not awful, but it's the kind of break that can't be left alone, because any pressure on the nail tip makes the whole nail bend and the tear gets bigger.
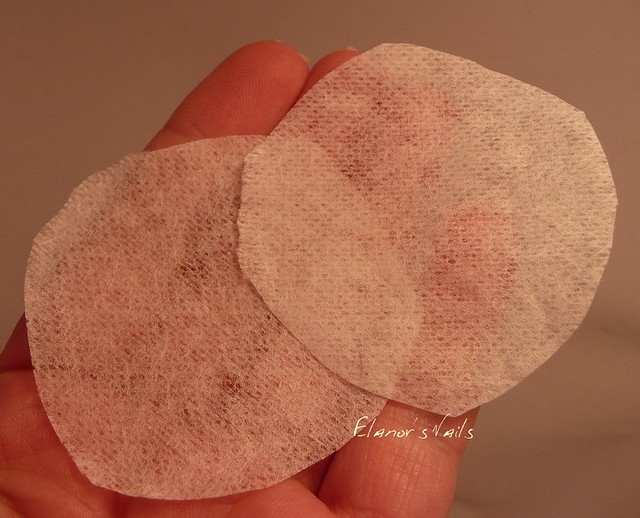
So, step 1, take a teabag and cut it open. Discard the tea, and cut off the edges. My teabag of choice is a Tetley.
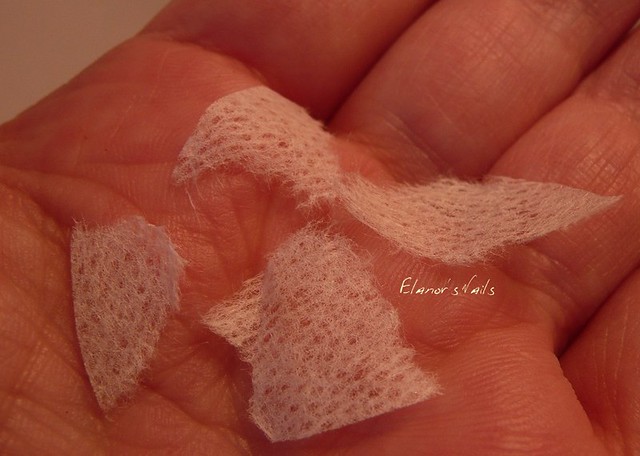
Then, tear the teabag into small pieces. Tearing is better than cutting, as it makes the edges much softer and less obvious.
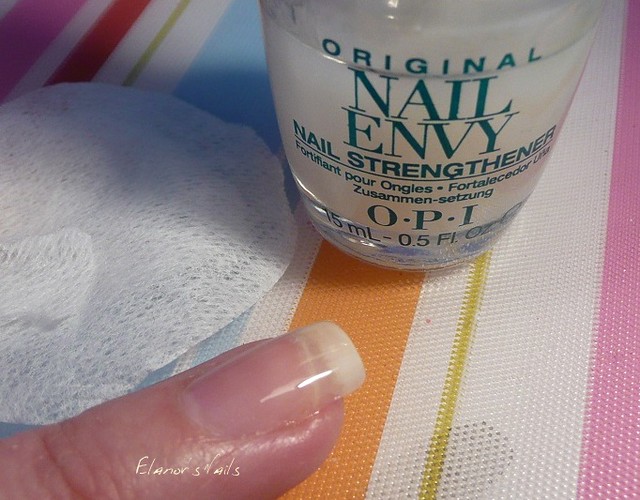
Then on clean, dry nails, paint a coat of your usual basecoat. I use OPI Nail Envy.
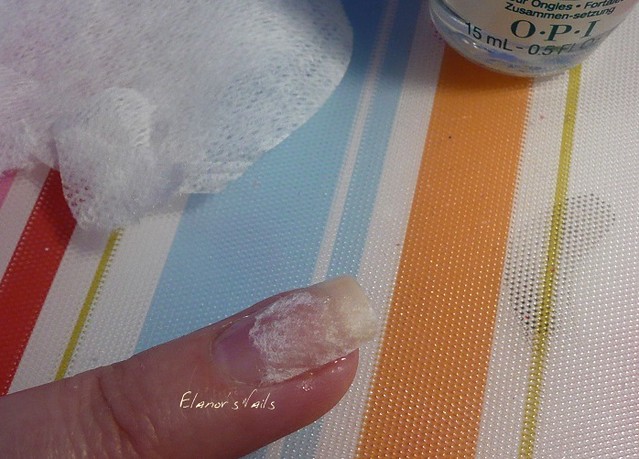
While this is wet, place a piece of the teabag over the tear, going as close to the edge of the nail as you can. Press this down and leave to dry.
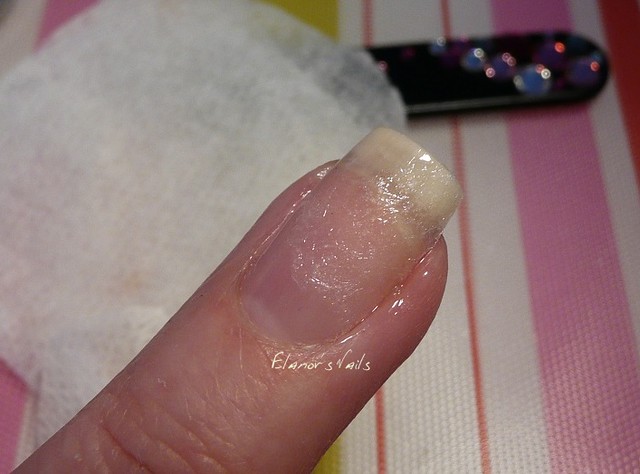
When the nail is dry, buff the surface with a nail buffer, just to even out the layers and make the surface smooth.
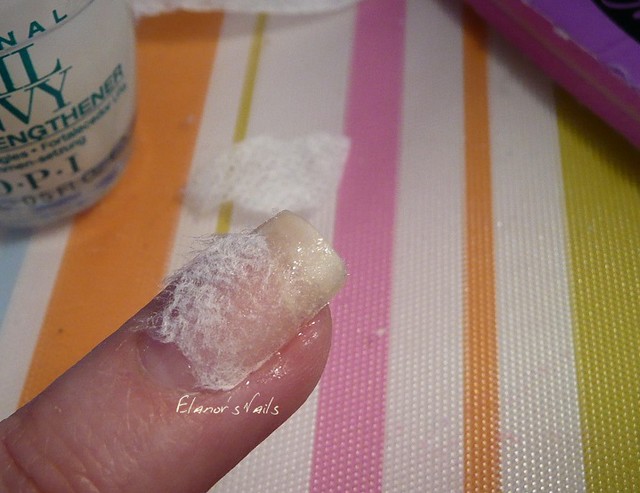
Then add another layer of basecoat, and another piece of teabag.
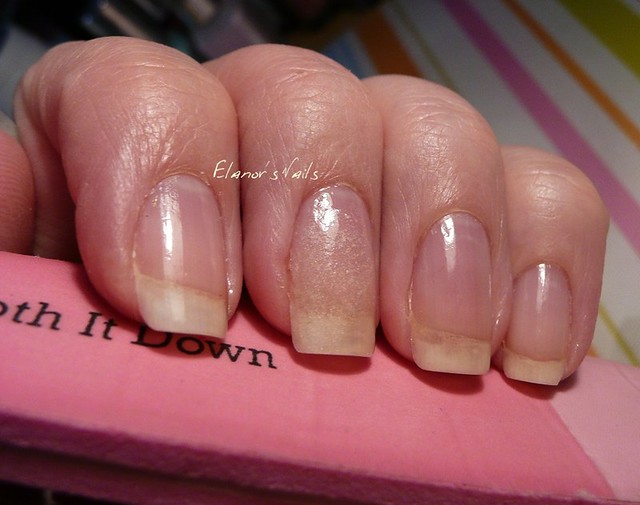
Again, press this down, and when dry, buff the surface to a smooth texture. Add one more layer of basecoat. You can now paint your nails!
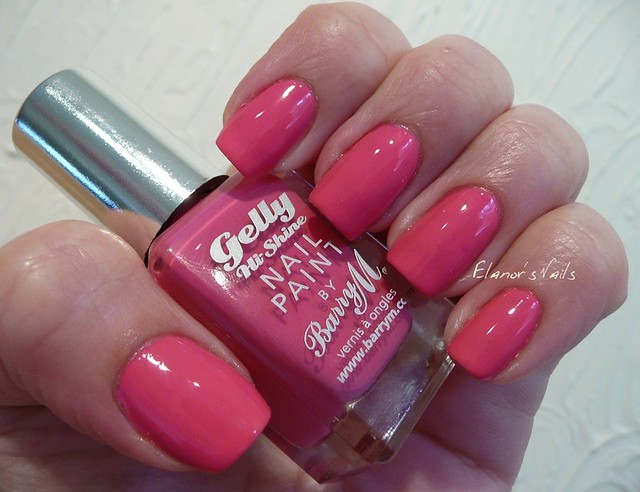
This is Barry M Pink Punch from the latest Gelly colours.
A teabag repair isn't perfect, and I've never managed to get one to hold on a completely broken off nail (although I have seen some people online who can do that!) but I find that on tears that don't go more than half way across the nail, they're a great way of stopping the tear from getting worse. They're not visible at all once the nails are painted; there is absolutely no difference in the appearance or feel of the broken nail on my hand. If you change your nail polish colour, then you do need to redo the repair, but it's not too time-consuming once you've done it a few times. The teabag means that you don't have to cut your nails right down to the quick, so it's a winner for me!

